With the holiday approaching you may be asked to bring a dessert item to a festive function. If that’s the case then I have an easy and beautiful dessert idea that serves plenty of people and will wow anyone who sees it.
Who doesn’t love cupcakes?!?!
Cupcakes are pretty widely accepted as a delicious dessert food amongst the crowds, however they can sometimes resemble a child’s birthday party if not presented right. To give this delicious treat an adult makeover I went ahead and filled it with chocolate gaunache, formed it into a beautiful holiday wreath and topped it with delicate chocolate leaves. It’s simple enough to do in a couple of hours and it tastes amazing! (I even made it with a clingy 8 month old at my side!)
You will need:
- 1 box of cake mix (I chose to use red velvet mix because of the cheery holiday color. You can also make your mix from scratch, but like I said, this is supposed to be an EASY dessert. )
- 1 cup of heavy whipping cream
- 8 ounces of bittersweet chocolate chips
- 1 16 ounce container of frosting of your choice (or you may make your own, enough to ice 16-24 cupcakes)
- 1 bag white chocolate melting chips (found at your local craft store)
- 50 cleaned leaves from your yard in varying sizes
- Decorative ribbon
The Steps:
- Bake off 16-24 cupcakes ahead of time and cool competely. it is important that they are cooled.
- take 1 cup of the heavy whipping cream and put it on to boil. When it just starts to boil, remove it from the heat.
- pour 8 ounces of bittersweet chocolate chips into a bowl and then pour the heated whipping cream on top of them. Whisk these together until blended and set aside. As it cools it will thicken up. You want it to cool at room temperature and not in the fridge or it will become too hard to fill cupcakes. Make sure this step s done when the cupcakes are baking so that they both can cool down before you put the whole thing together.
- Once the cupcakes are cooled and the chocolate gaunache mixture is about a thick custard consistency it is time for the rest of the assembly.
- Using a spoon or a small cookie batter scoop, scoop out the center of each cupcake, being careful to remove the “core” and set it aside.

- Once all the cupcakes are cored, take your chocolate mixture and fill each hole almost to the top using a spoon.

- After all cupcakes are filled, take the “core” and pull off the bottom half of it.

- Use the top of the core to fill in the hole where the chocolate was filled. Now your cupcake should look just about like it hadn’t been cored at all, but it now has a yummy surprise on the inside!

- next, frost your cupcakes with frosting as you would any normal cupcake. I recommend using frosting that matches the color of the leaf melting chocolates you will be using. In this case I used vanilla frosting and vanilla chocolate melting wafers.

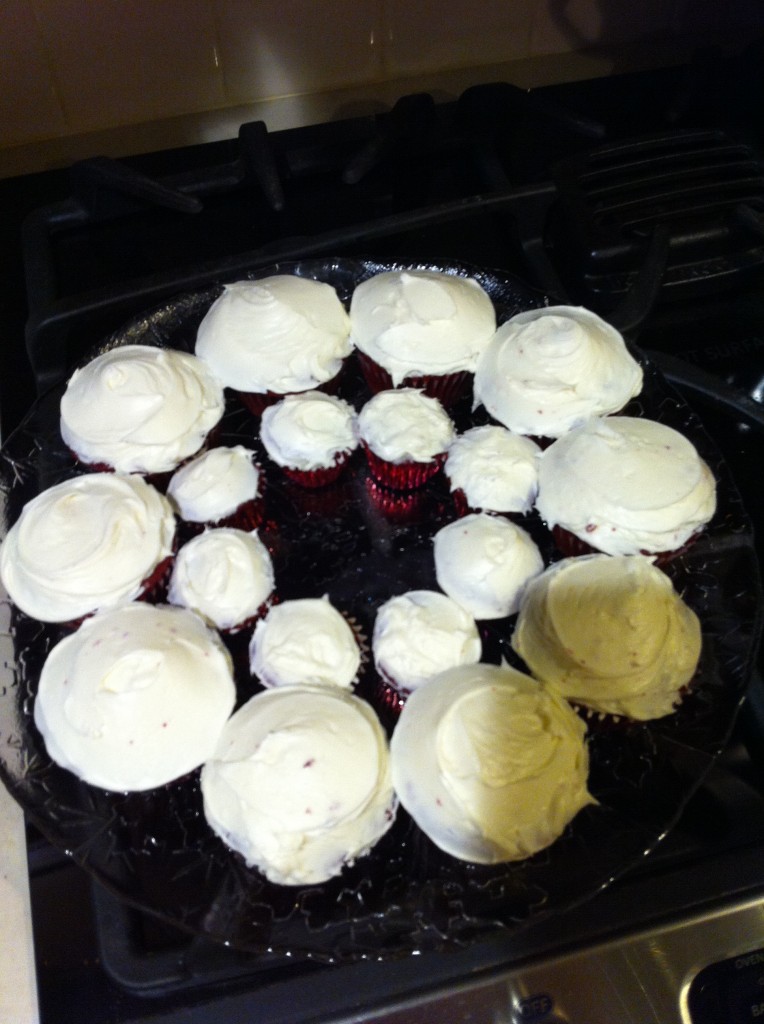
- Once all your cupcakes are iced, arrange them in a circle on a plate or platter. I wanted my wreath a bit thicker so I also baked off some mini cupcakes to bulk up the inside of the wreath, although it’s not necessary.

- Next, we move on to leaf making! Wash all of your leaves and pat them dry with paper towels.
- Melt half the bag of chocolate wafers. (instructions for melting are on the bag)
- Taking a CLEAN paintbrush, paint the melted chocolate onto the BACK of the leaf. (the back is waxier and will pull off the chocolate much easier. Make sure that the chocolate isnt too thick or too thin. It should be a little bit transluscent once on the leaf.

- Lay the painted leaves on a cookie sheet and put them in the fridge for a couple of minutes to harden up.
- Once hardened, take them out and carefully take each leaf and pull it away from the chocolate. You will end up with a beautiful chocolate version of the leaf.

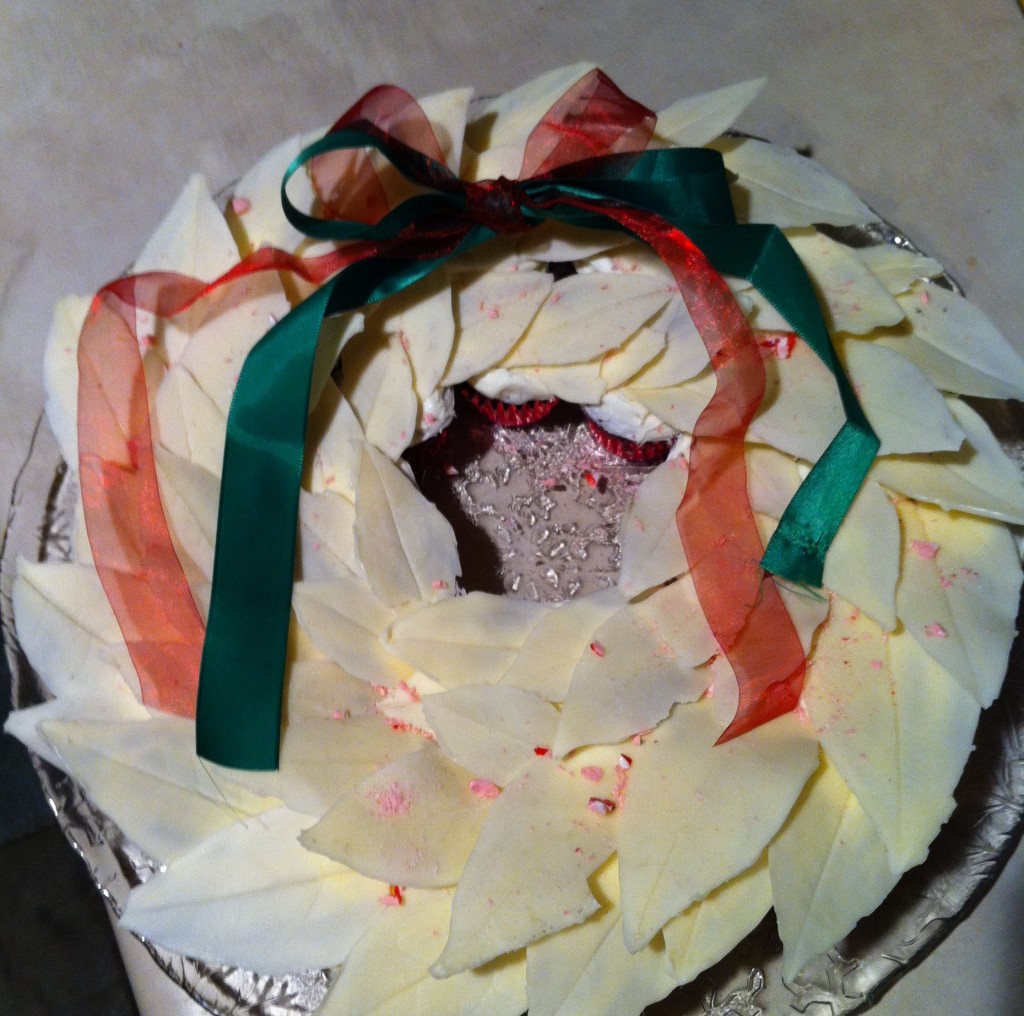
- Now that your cupcakes are arranged and your leaves are made you can finish off your masterpiece by setting the leaves onto the cupcakes in whichever design/direction you choose.

- After the cupcakes are adequately covered in chocolate leaves you may sprinkle some red candy dust (as I did for decoration) or sprinkles, or berries…you get the idea.
- Finish it off with a bow and your festive dessert is ready for unveiling!

I hope everyone has a wonderful Holiday! It has been a very busy season for me and I apologize for not posting as often as I would like. It will change once the holidays are over and life calms down a smidge ;)
Let me know if you make this and what your guests/family/friends think!


3 Comments