okay, so I’m a day late in writing this, but we had far too busy of a Halloween for me to get on the computer. It was Penelope’s first and we had so much fun! We visited my great grandma and then went to my sisters to see my niece and nephew. That was about all Penelope could handle before she got too cranky and sleepy. lol. I was surprised at how well she did wearing her costume all day. She didn’t really seem to mind like I thought she might.
Procrastinating Pumpkin
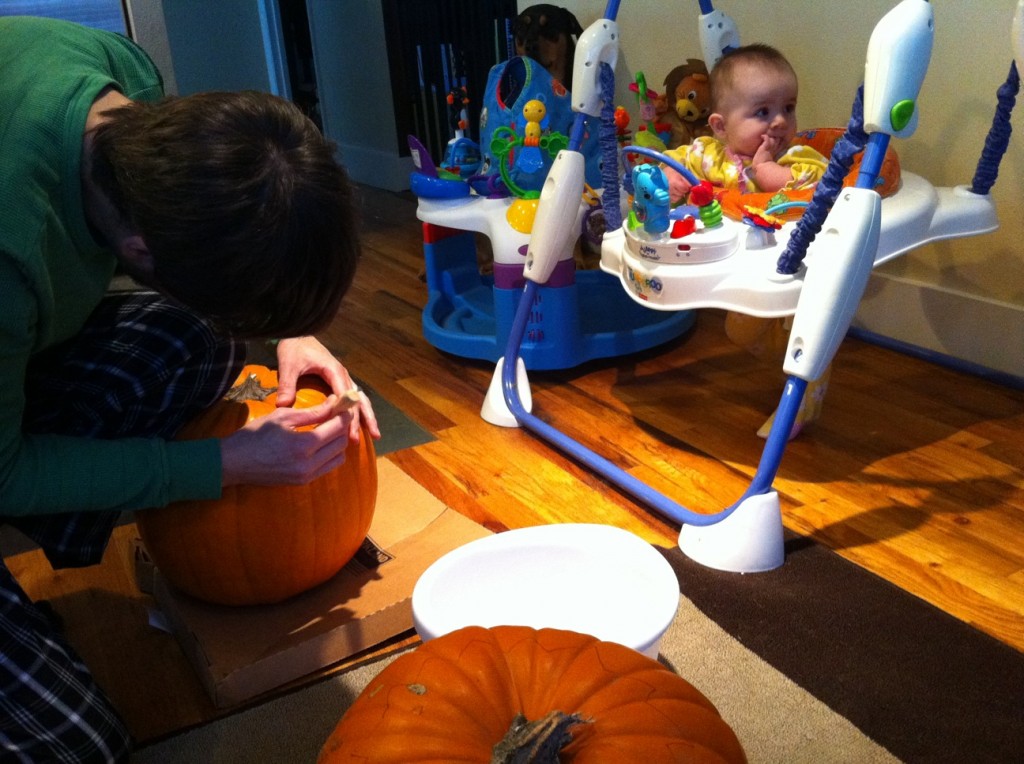
I usually carve my pumpkin a week or so before Halloween, but having a 7 month old put a damper on that. I just couldn’t find a good time for all three of us to sit and carve. My husband suggested we just do it Halloween morning so that Penelope could watch too. That is exactly what we ended up doing and it was so much fun!
The right tools for the job
We usually buy one of those cheap sets with the orange handles to carve our pumpkins.
They never work very great and they always break halfway through making it so they need to be replaced every year. At $7 a pop it can really add up year after year. This Halloween, Cory suggested we invest in a decent carving kit. We found a Martha Stewart one at Macys.
Now…I’m not the biggest fan of Martha, and I usually would not choose to support her by buying her products, but this was a really great kit AND it was on sale from $24.99 to $12.99! We went ahead and purchased it and I am SO happy we did. Not only does it contain amazing tools, but they are nice and hearty so they should last year after year! The following shows the steps I took to achieve my carved pumpkin:
- I looked a picture online and sketched out the pattern I wanted to carve

- Next, using the poker tool, IÂ traced the pattern onto the pumpkin


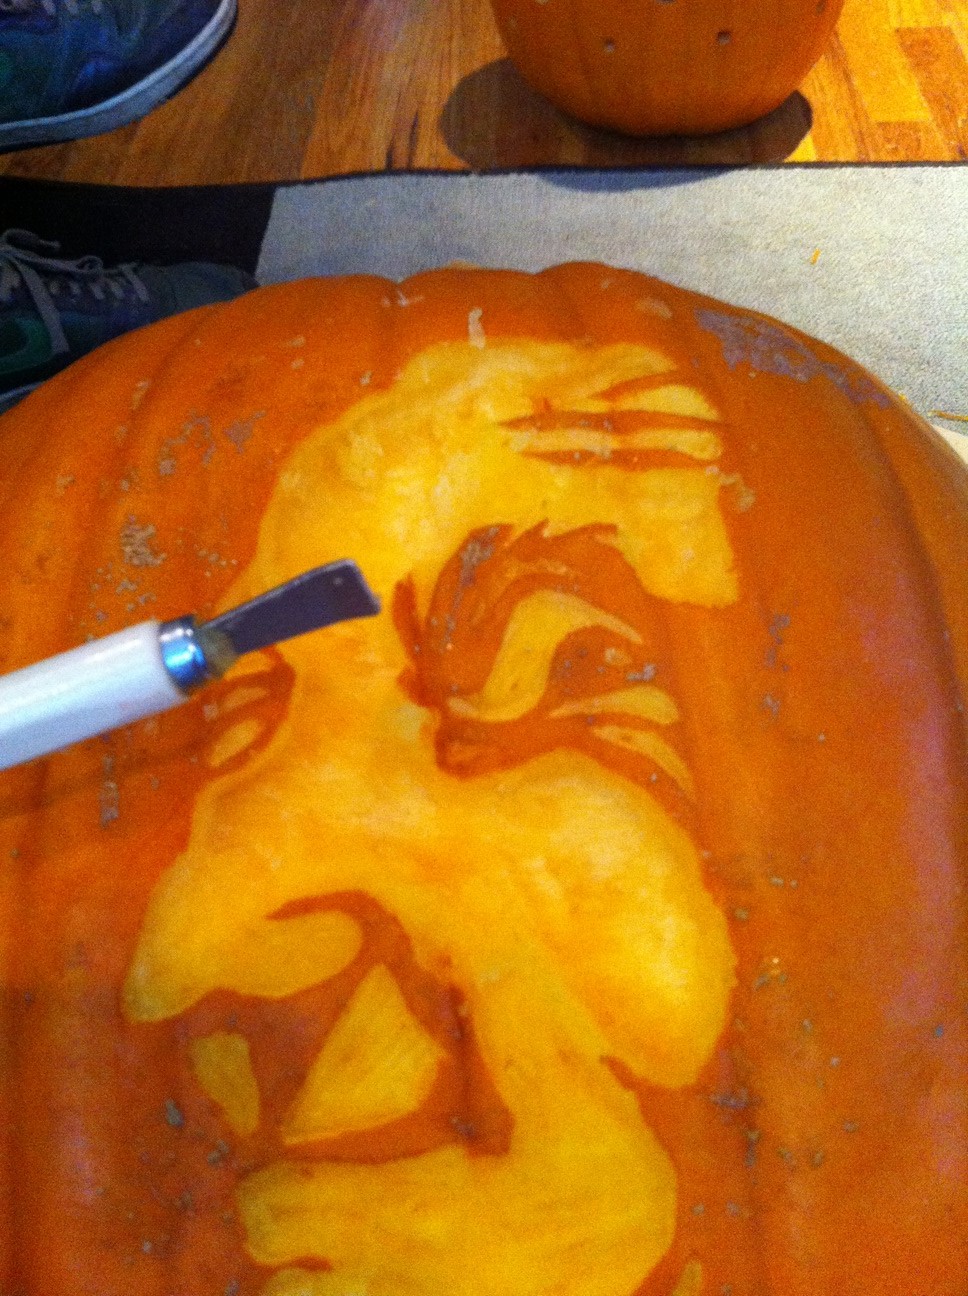
- I then used the canal tool to take the skin off the areas I wanted to carve

- Next, I used the scraper tool to deepen the areas and give them a good glow effect when lit

- Then I cored holes in a design around the pumpkin using one of the two core utensils

- Lastly, I put it outside and lit it up!

I hope everyone had a safe and happy holiday! :)


2 Comments