
As you may have realized, I adore sewing of all kinds. I was bit by the sewing bug when I was 8 months pregnant with my daughter and I haven’t looked back since. Although drafting patterns and sewing clothing designs is my number one love, I hold a special place in my heart for creating one of a kind plush characters. For my nephews birthday this year I set out to create a Minecraft Creeper Plush toy for him, and I wanted to go ahead and share this free tutorial with you! If you aren’t a “sewer” but still feel the need to own or gift one of these fellas you can purchase a custom made one from my shop here. If you are ready to create a magical gift for a Minecraft junkie, then read on!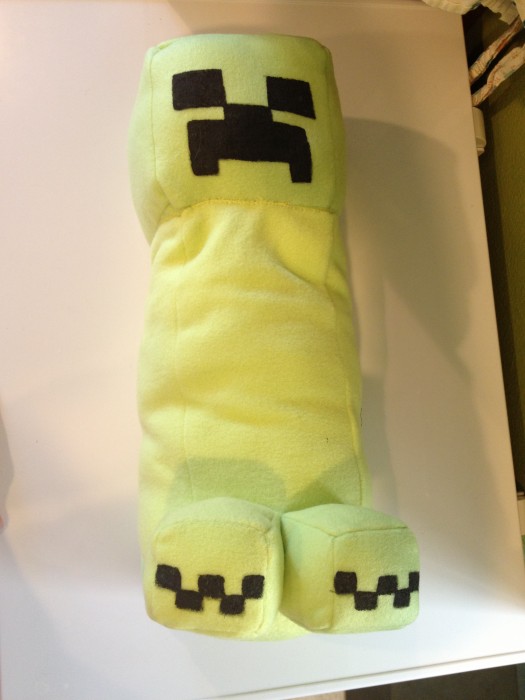
You will need: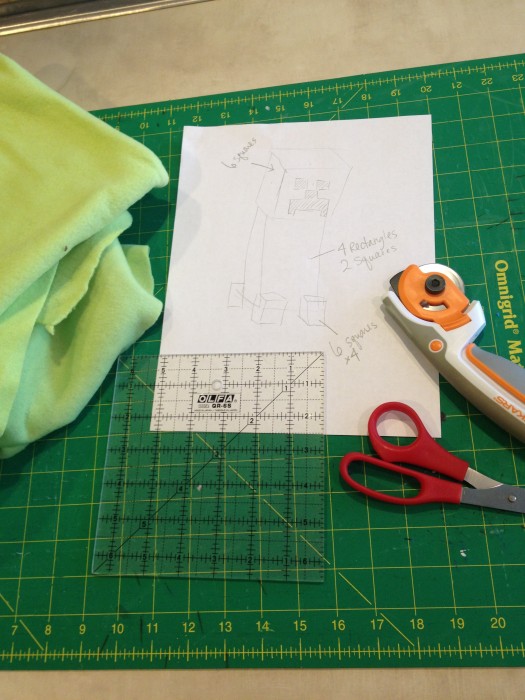
- 1.25Â yards of green fleece or felt (I use fleece because I always have it on hand, plus it is soft, washable and comfy to sleep with as a pillow…however with that said, felt holds a square shape a bit better and would allow for sharper corners and square shapes which are what make up this entire plush. Use your own personal judgement here.
- thread that matches the fleece or felt
- a machine to sew the majority of it (this can be hand sewn but it would take a lot longer to sew the entire project by hand)
- a hand sewing needle that is nice and sharp to pass through layers of fleece or felt.
- scissors to trim your threads
- black fabric paint
- a small paintbrush big enough to fill in 2″ areas quickly but small enough to keep detail.
- a 6″ quilting square will sure help you out but it’s not necessary, you can use a ruler if needed. (OR measure out this measurement on a piece of cardboard and use that!)
- a 12″ quilting guide will also be very helpful but also not 100% necessary (OR measure out this measurement on a piece of cardboard and use that!)
- a rotary cutter (not necessary but it speeds things up instead of using scissors to cut out all your squares.
Here we go!
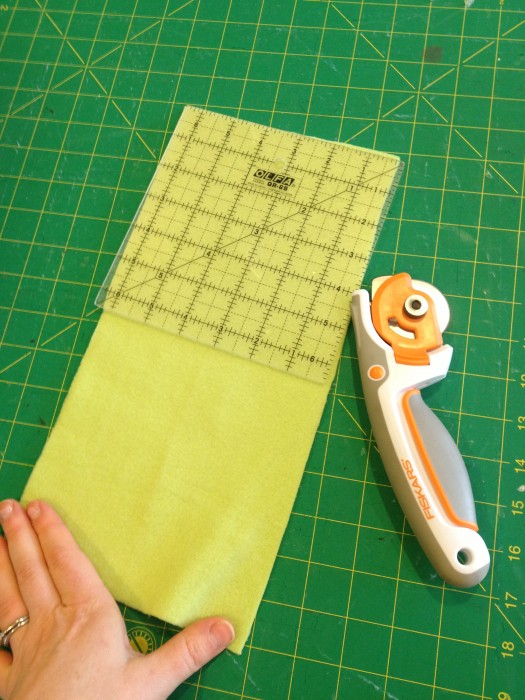
- start by cutting out your head. You will need to cut out 6 squares of the same size. I used my 6″ quilting square and rotarty cutter to quickly do this.
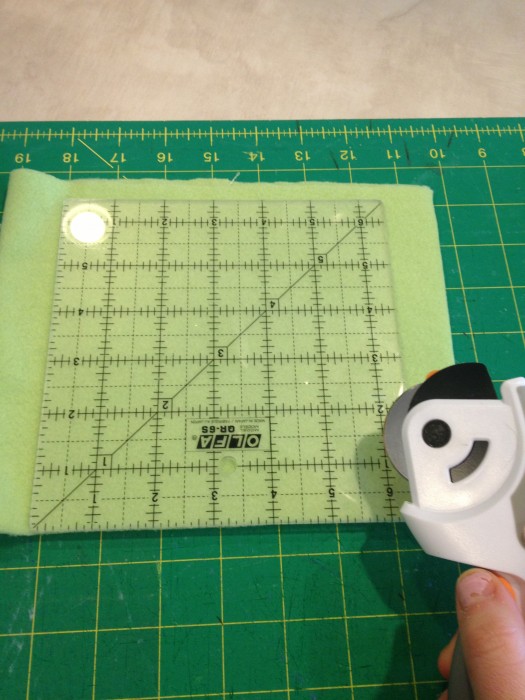
- Next you need to cut out all the squares for the feet. There are four feet total that each consist of 6 squares, so you will need 24 squares total for the feet. I took my 6″ quilting square to cut out a 6″ square then I halved it and cut, then halved it again and cut to come out with 4 even squares…repeat this until you have 24 squares:
here I am halving a 6″ square

then I halve the other side so I end up with 4 squares
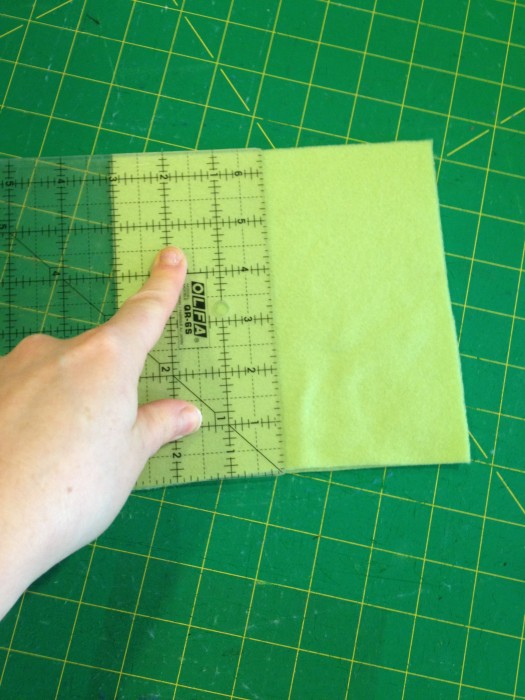
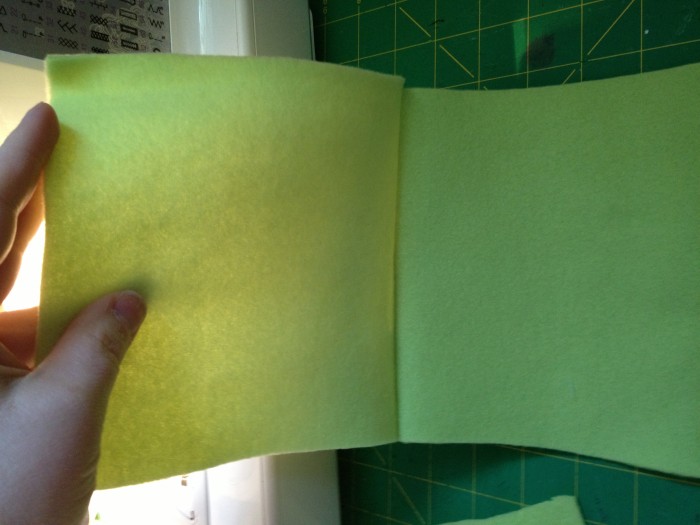
- Next we need to cut out the body pieces. For this we need 4 long rectangles and two squares for each end. Cut out the two squares using your 6″ quilter square then fold the fabric and cut another 6″ square on the fold so that when you open it, it will be 12″ tall by 6″ wide. Do this 4 times so you end up with 4 rectangles of this size:

fold your fabric and cut the 6″ square on the fold
you end up with a long rectangle. cut out four of these.
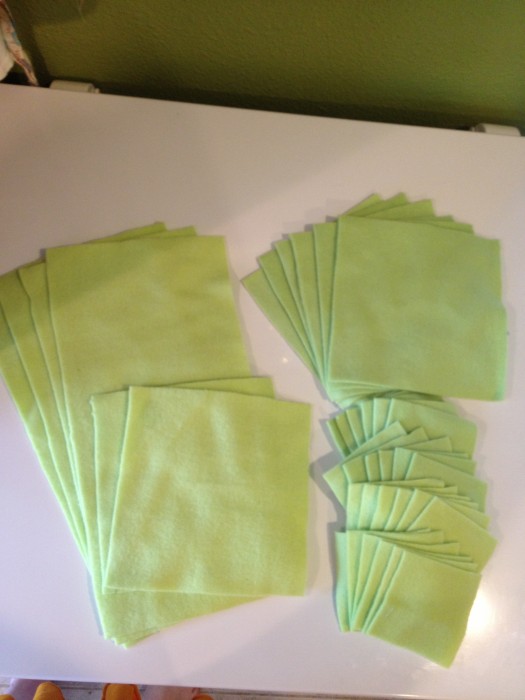
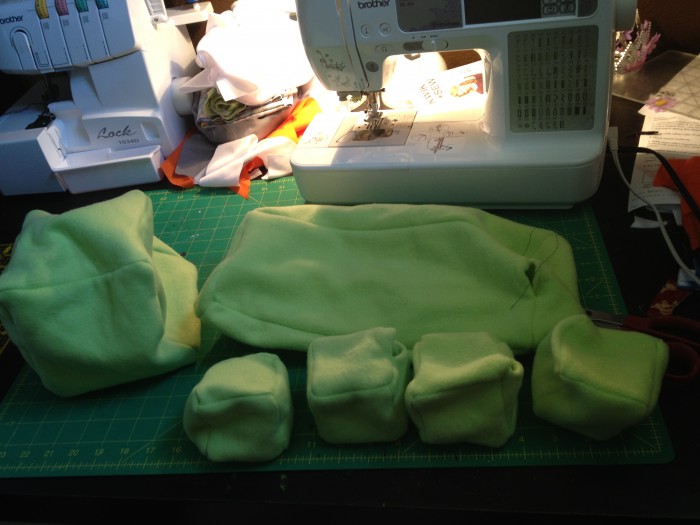
- Now you should have all the pieces you need cut out including: six 6″ squares for the head, four 12″x6″ rectangles for the body, two 6″ squares for the ends of the body and 24 small squares that make up four cubes (or four feet)
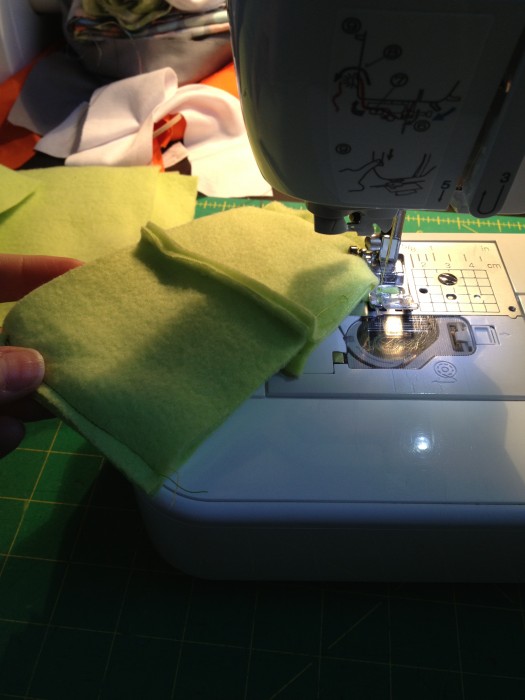
- It’s time to sew! Sit down at your machine…we will start with the head. take two squares, match up the sides and sew them together. I used a 1/4″ seam allowance. You can use whatever you please as long as you stay consistent and know that the larger the allowance, the smaller your final project will be…
here I have sewed two of the head squares together on one side.
- Continue to sew the head squares together until you have four of them forming a long rectangle
here there are 4 head squares sewn together
- Now you will take sewn together squares and you will sew together the two raw ends to form a box with two open sides
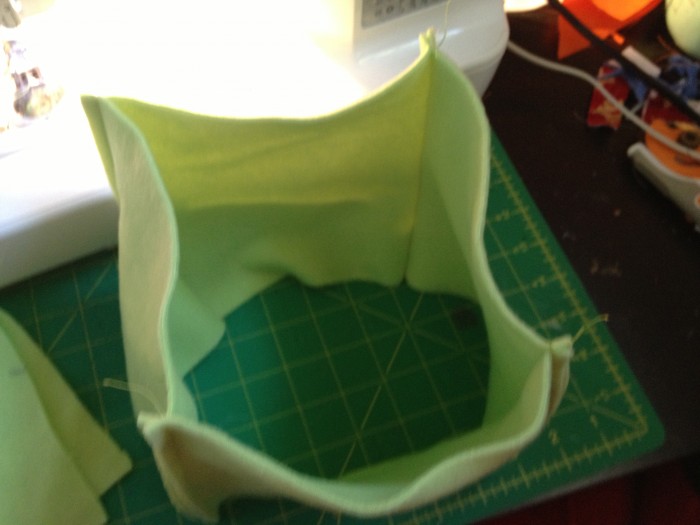
here is how it should appear after sewing the two raw ends together
- Now it is time to “close up the box”. take the 5th head square and pin in onto one end of the box you made, lining up the sides nicely. (or be quick like me and don’t oin it if you are confident in your sewing skills)
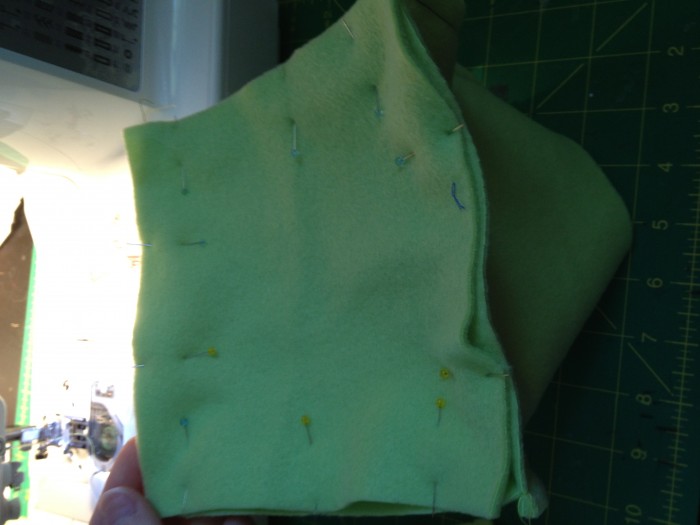
here is a pinned example
- sew the edges so one side of the box is now sealed shut

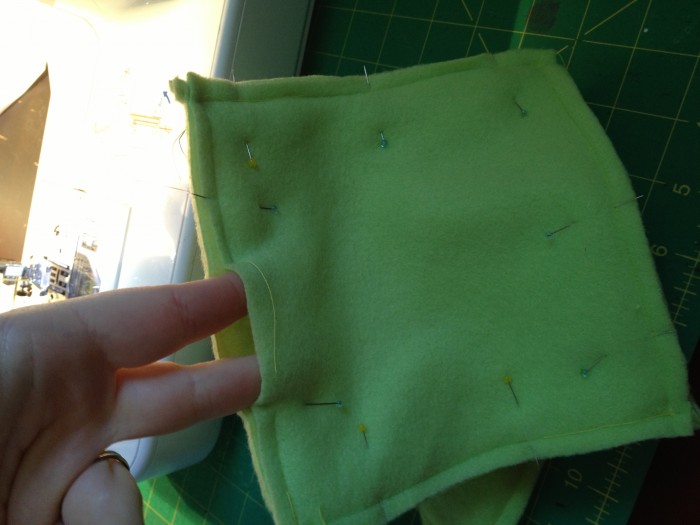
- now pin the other side of the box with the 6th square the same way…but when sewing this time be sure to leave a 1 or 2″ opening to turn it inside out through and for stuffing it
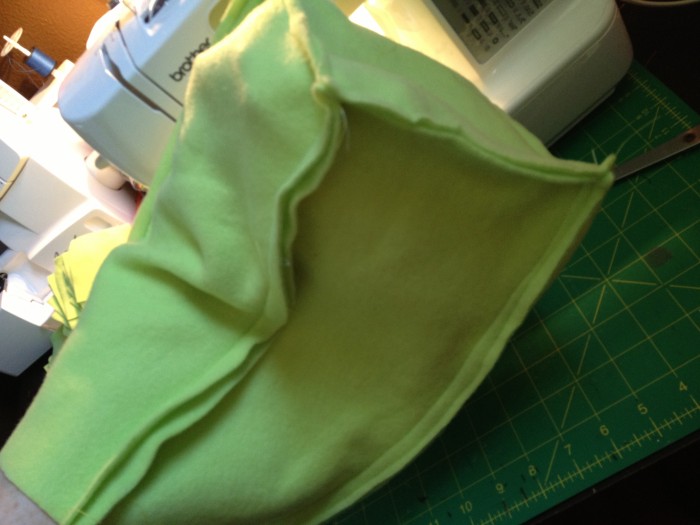
- Now turn your head right side out!
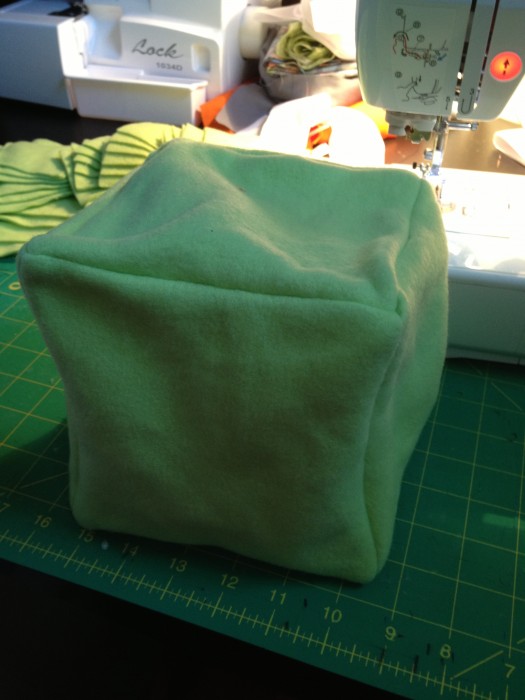
pretty cool eh? now you know how to make fun square pillows! or soft baby blocks for a baby shower gift….
- now you will do this four more times following the same steps but with the smaller feet squares…you will end up with four smaller sized boxes
sewing together the smaller boxes in the same way as the head…
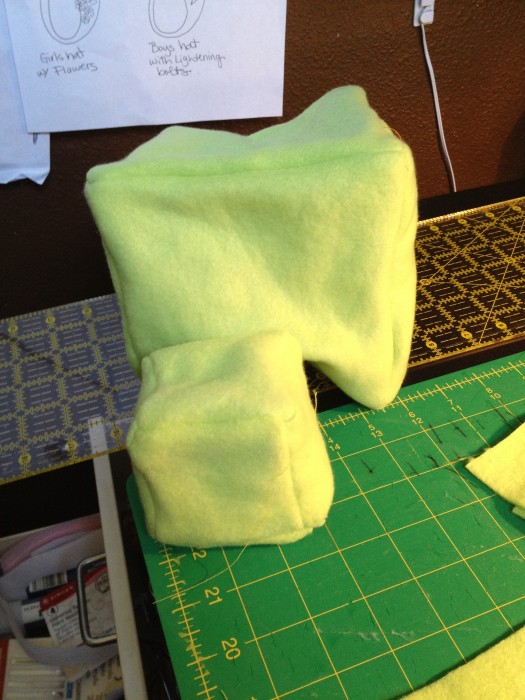
the finished head next to a finished foot
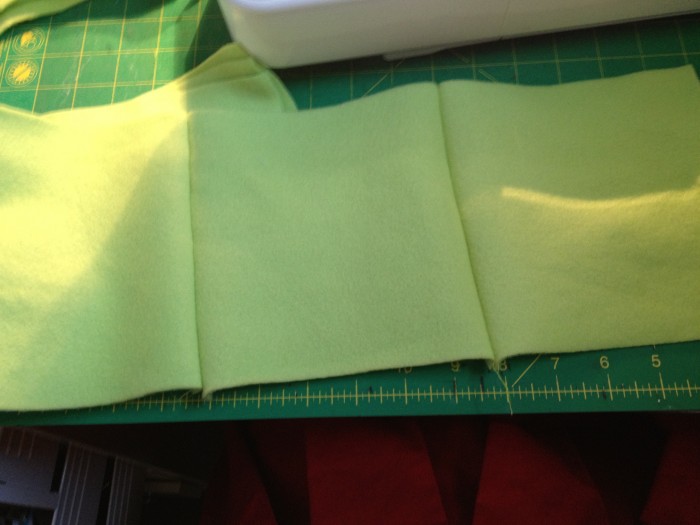
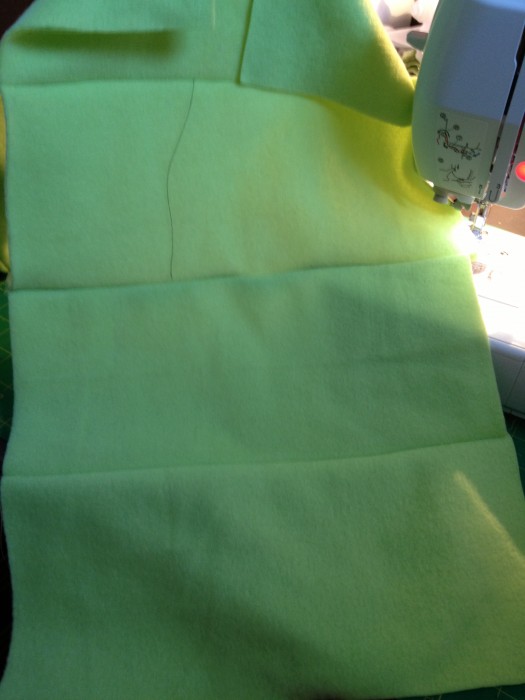
- Now it is time to sew the body! you will put the rectangles together the same way as the head but you will sew the four pieces together along the 12″ long side
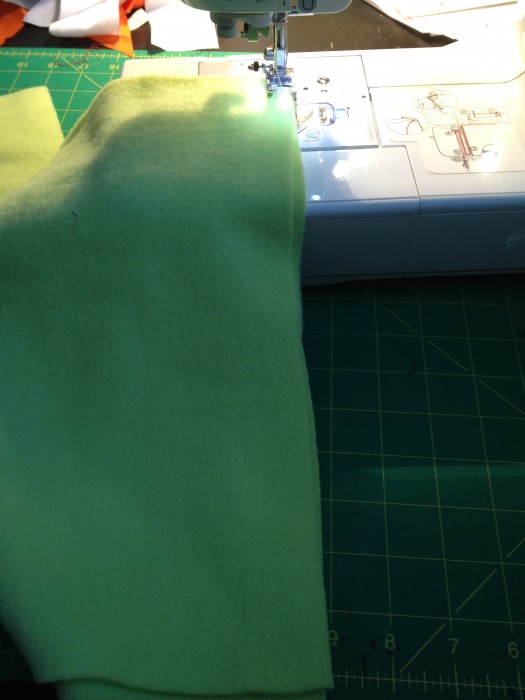
- continue by sewing the four rectangles together on the long sides and then turning them into a box shape by sewing to last two raw long edges together….
here are the four rectangles being sewn together
here is how it should appear after sewing the two raw ends together
- now it is time to put the two square ends on the rectangles…do this in the same way you put the ends on all of your other boxes. be sure on the second one to leave an opening for turning it right side out and stuffing it!
pin the end on and sew it together
- Now you should have a long rectangle box body….a square head…and four small square feet
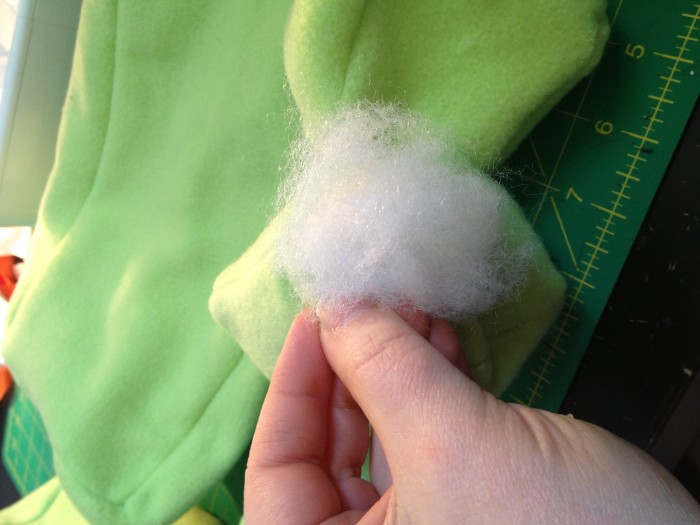
- It is time to stuff them all! I used fiber fill and stuffed them so they were full but not too full so they wouldn’t completely lose their square-ness
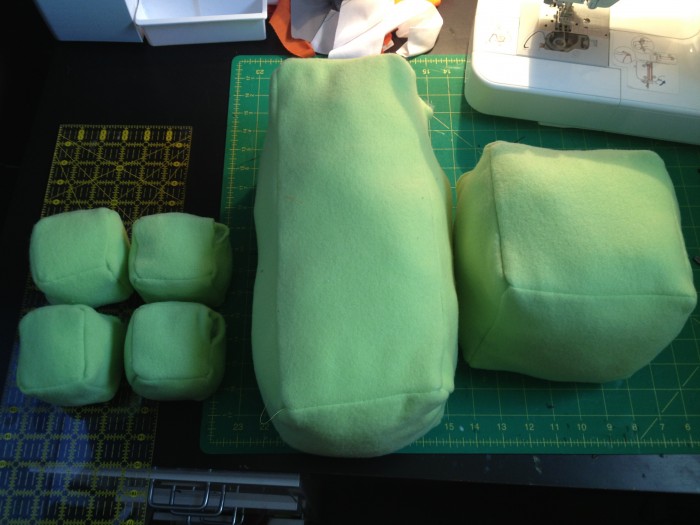
the pieces all stuffed
- you know those handy openings you shoved stuffing into? well now it is time to close them all….by hand sewing
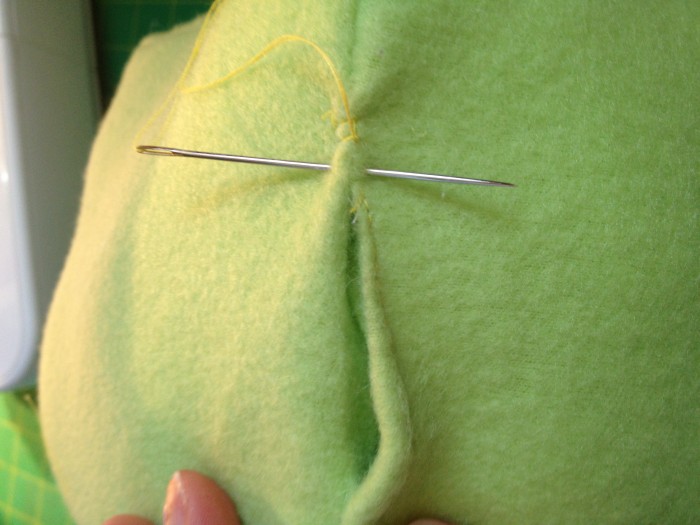
hand sew shut all the openings in each square that you stuffed into
- Let’s assemble him! Start by handsewing a small square foot on a bottom corner of the large rectangle body

sew each foot on by hand. two squares in the front and two squares on the back
- then we will sew on the head by hand to the top of the rectangle! (the feet should be on the opposite side at the bottom of the rectangle fromt he head….)
sew that head on!
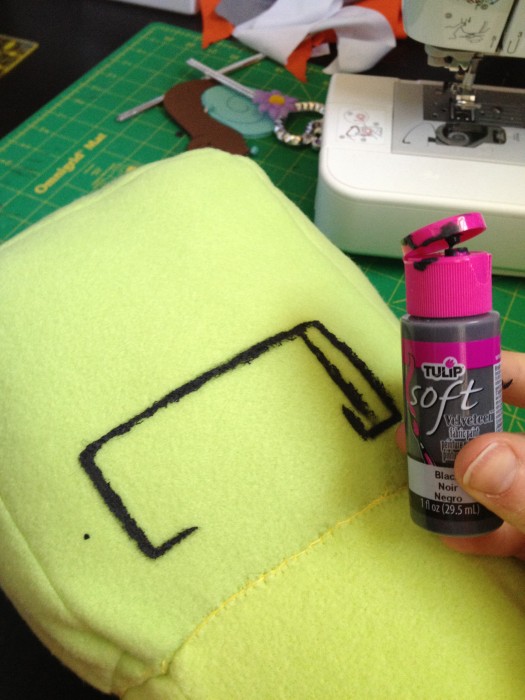
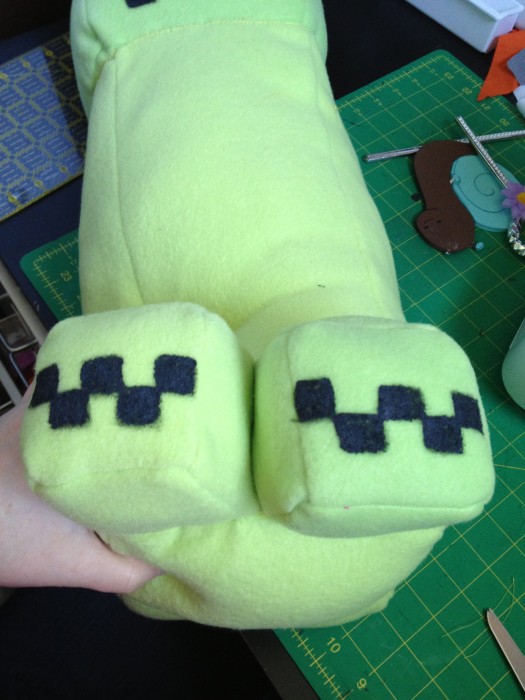
- Now that he is all sewn together it is time to paint on his details! I just handpainted them on by a whim but you can look at a picture and copy it…trace it on somehow…whatever works for you. I started off with the pixel face and then finished by doing a checker print across the front feet
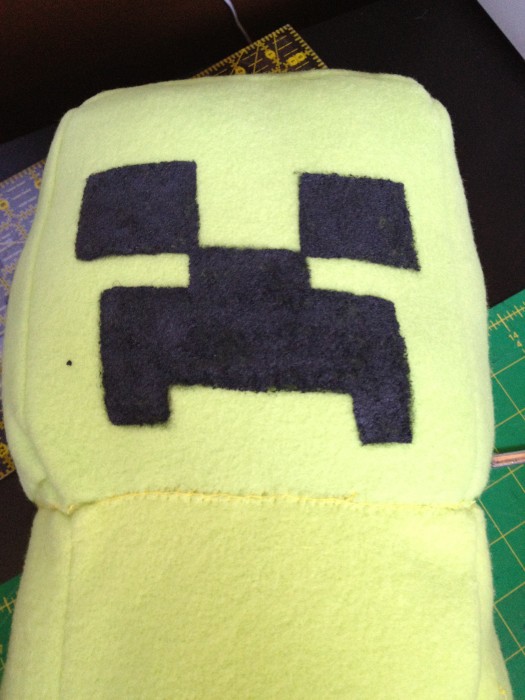
- yay! We now have a fun creeper plush!
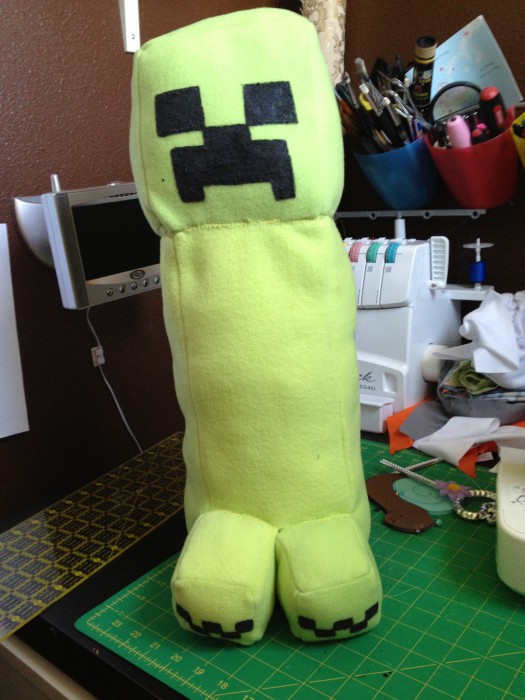
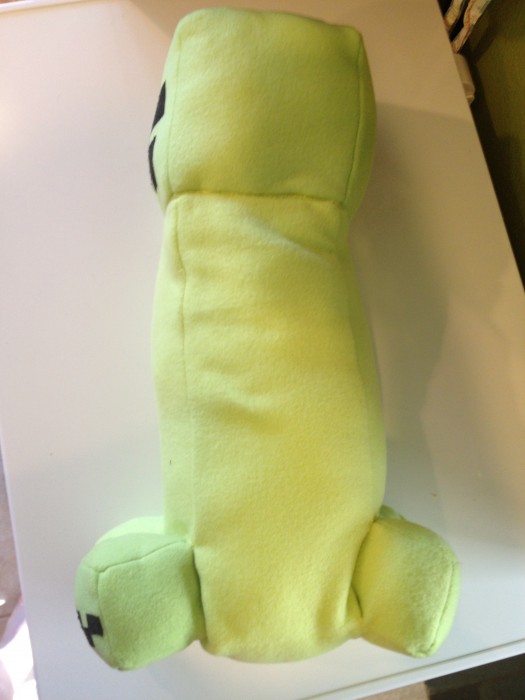
side view
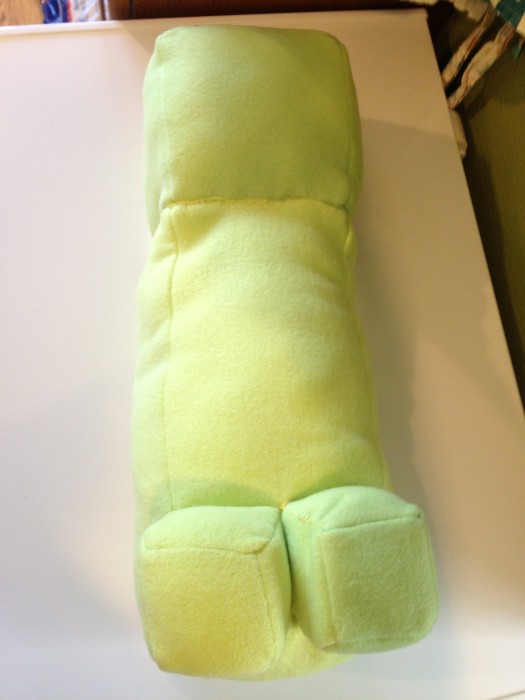
back view
- Now keep it….or gift it and make that Minecraft Creeper plush fan a very happy boy! (or husband…or man…or friend…or whatevs….)Â ;)
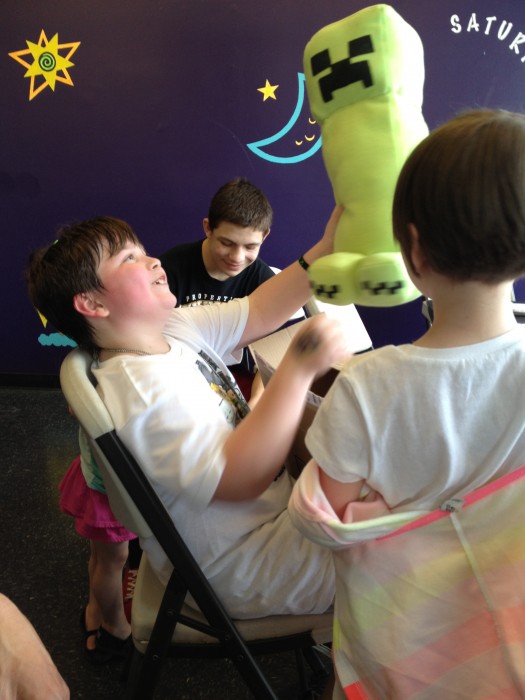
my nephew opening his gift