
Most of us have been there… it’s another boring day with no activities planned and our kids are driving us nuts. Play-doh only gives us 20 minutes of peace and that new Palace Pet that we thought would allow for a few quiet moments with our coffee has only bought us enough time to brew said coffee. Â These are the days that we need reinforcements. We need a new, exciting activity so that when dad comes home from work at the end of the day the children are still alive and healthy ;) Â This is where todays tutorial comes in to play: The super hero cape and accessories T-shirt upcycle! Hurrah! Perhaps you sew, maybe you don’t…either way this project is for you!
Here is what you will need:
- an old t-shirt (for longer, nearly floor length capes you will want to use a mens t-shirt. For a shorter style cape you can use a child’s t-shirt.)
- a 1-2″ piece of velcro (both the soft and the loop sides)
- Scissors
- Hot glue gun with glue OR a sewing machine OR hand sewing supplies.
- Paint, glitter, glue, iron on decals, glue on rhinestones, puffy paints, etc. (if you choose to decorate your items after they are made)
The Instructions:
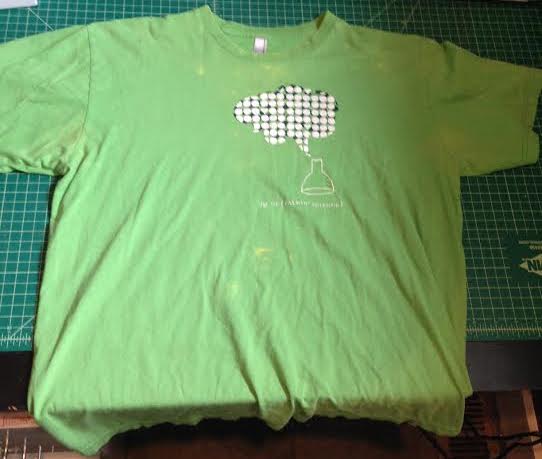
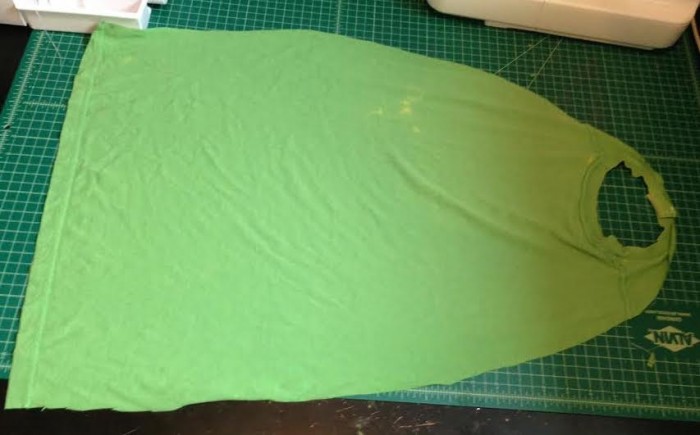
 Lay your T-shirt out on a flat surface. For this tutorial I am using a Mens Size Large shirt.
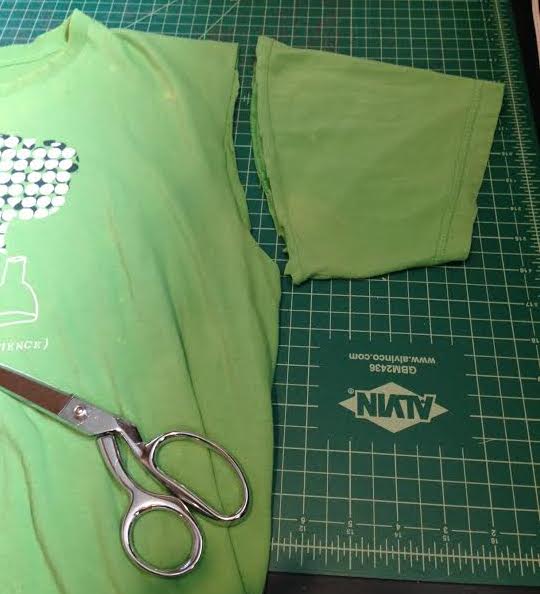
Cut off both sleeves as shown above and set them aside. We will be using them later so don’t throw them out!
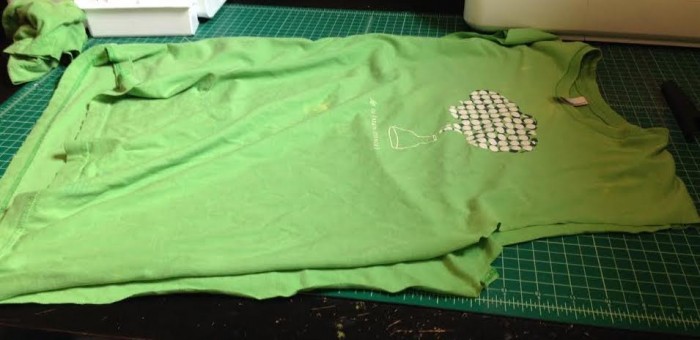
Cut open each side starting from the bottom center of the armpit and down to the hem.
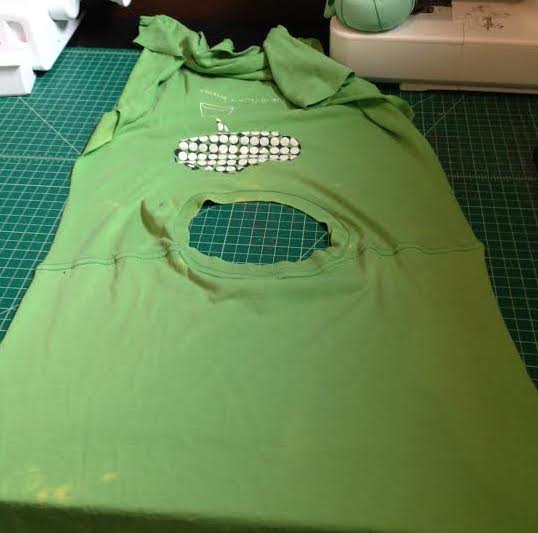
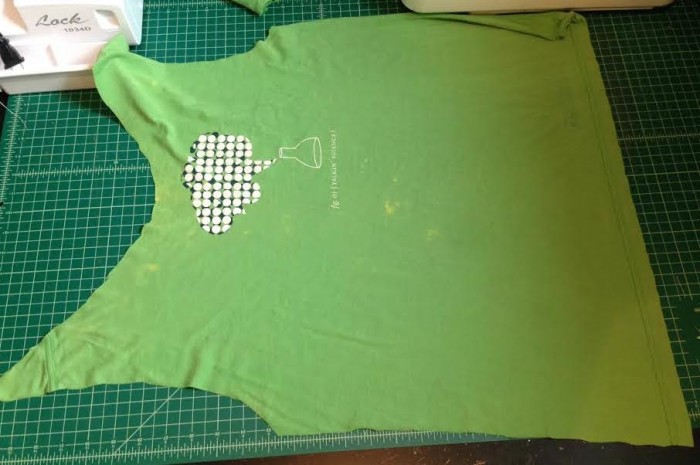
Open up your shirt and lay it flat so that the collar forms a circle.
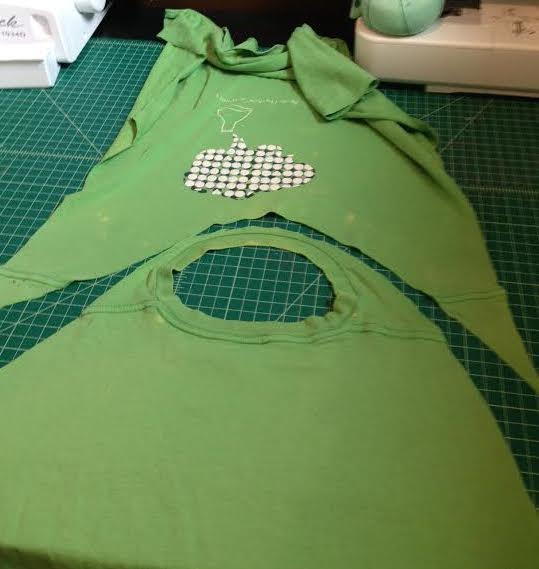
Cut from one side, up and around the existing collar and down the other side. Set the top, unused portion aside. We will be using it later to make the mask.

Straighten out any jagged cuts by cutting them into a smooth line. Â Your shirt should now have the overall appearance of a cape.
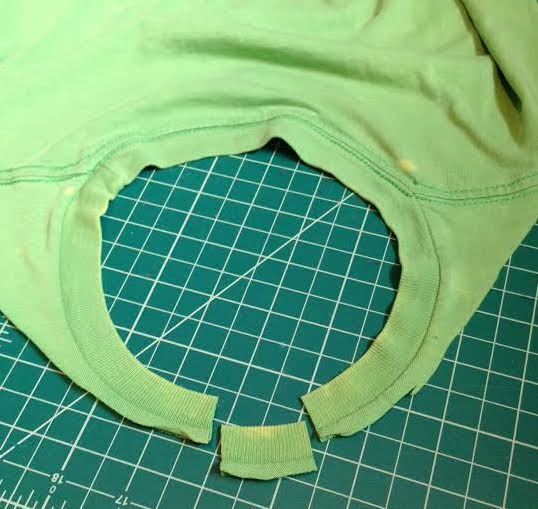
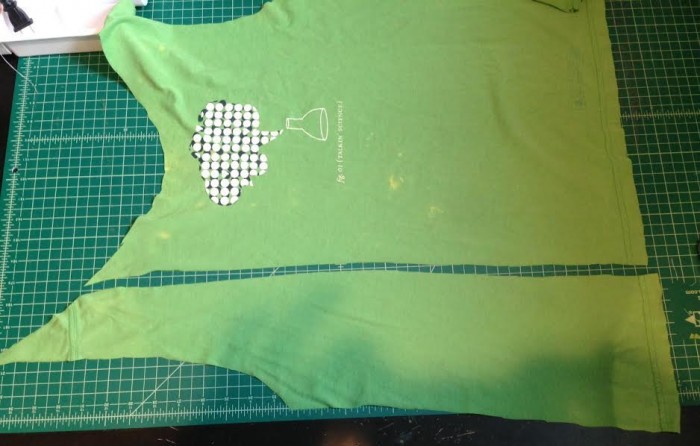
Remove 1-2″ from the collar in the front center.  It’s best to put the collar onto your child to get an idea of how much of the collar you should omit since all shirts are a bit different.  If you have to guess because your child is unavailable then I suggest taking out only 1″ to be safe. You can always adjust how it fastens to make a tighter fit but once you cut the collar  too short it’s much harder to remedy.
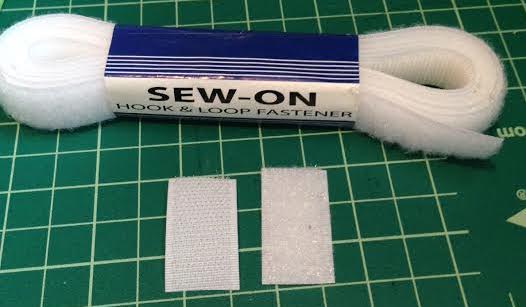
Have your 1-2″ of velcro cut and ready!
Using your method of choice (Hot glue, sewing machine or hand sewing) attach the velcro as shown, with one piece on the underside of the collar and the other piece on the top side of the collar so that they catch each other when they are crossed. I always like to put the soft, fuzzy side on the part that would have the most potential to touch the child’s skin (the underside) so that it won’t be too pokey and itchy. Â Secure your velcro into place.
Ta-dah! You now have a fully functioning cape! At this point your child will probably rip it from your hands gleefully, promptly attach it around their necks and run around the house …but if you’re able to subdue them with promises of puff paint and glitter then now is a great time for them to start decorating their cape while you finish up the accessories.
Take the other half of your T-shirt that has not been made into a cape and lay it on a flat surface.
Cut approximately 1/3 of the shirt off. Keep the bottom portion and feel free to discard the top portion at this point.
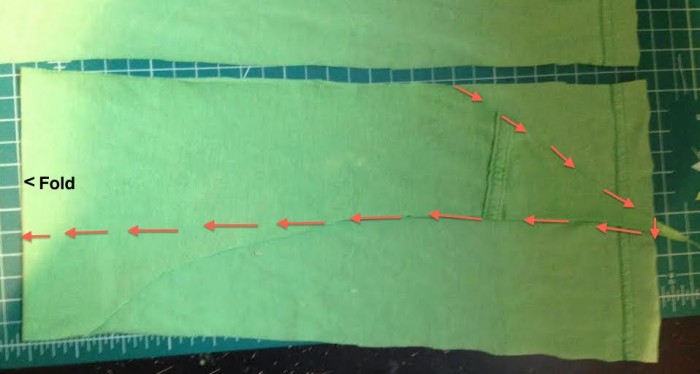
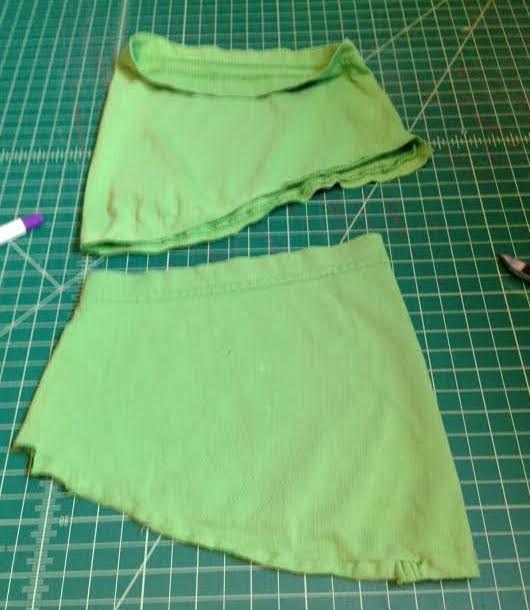
Fold the shoulder end over so that it matches the other raw edge. The fold will be to the left. Â Following the example arrows, cut around the outline of your folded over piece. As you near the folded side, do what you need to do to make both layers cut on a straight bottom line. As you can see above, this meant cutting off some of the original folded area.
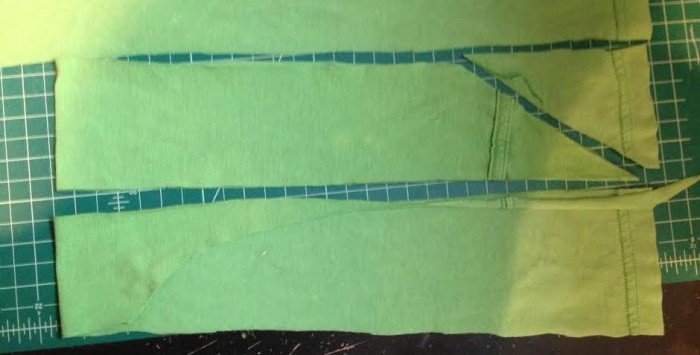
It should look something like this after you made your last cut.
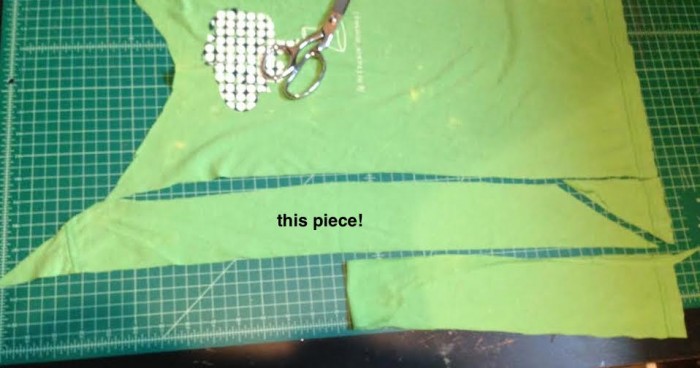
Once you unfold it, here is what your piece should resemble. Â This is going to be the face mask. The pointy edges will help in tying it in the back of your child’s head without a lot of bulk.
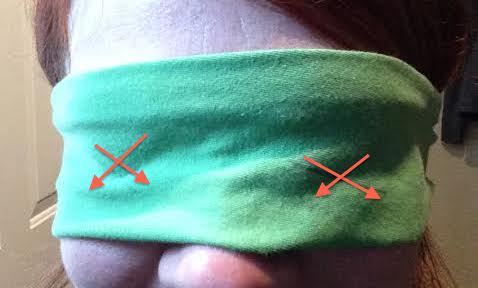
Tie the mask around your child’s head (or in this case i had to use myself as the model since my daughter was at school) and mark where the eyes need to be with an X. I used a pen made especially for marking fabric while sewing, but any sharpie or marker will do the trick.
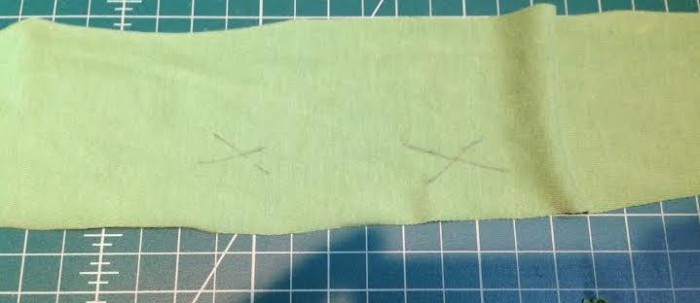
Now carefully cut out where you marked your X’s. Â I like to pinch it in half and cut a half circle so when I un-pinch it I have a nice eye shaped hole. Â Your mask is now finished! If your child wants they can decorate this too! Or you can go ahead and tie it on your own face since you are pretty much a super hero parent for making this awesome cape set for your kiddo! Â We aren’t quite done! Every super hero needs some arm decor…
Grab those cut off sleeves that we saved from our first step and lay them out flat.
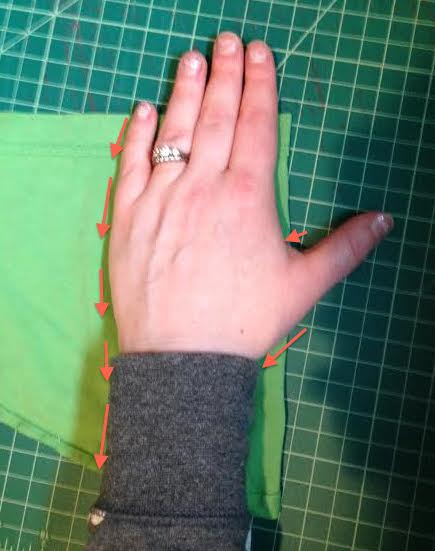
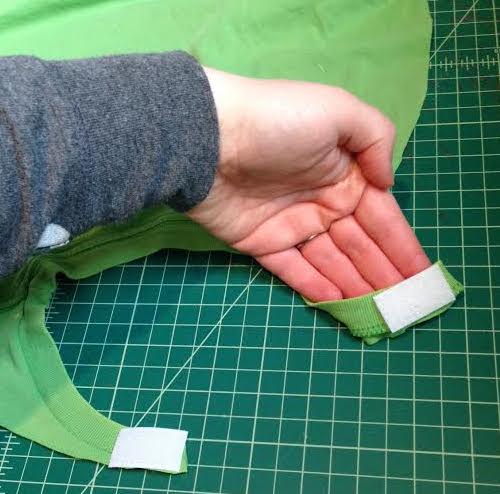
Lay your child’s hand down as my hand is shown in the picture. Trace down the non-thumb side of the hand and then make marks on either side of where the thumb lays. Â It is important that you use your child’s hand for this measurement because if you use yours (as I had to in this tutorial) the arm pieces will be a bit large on your kid.
Here is how your traced lines should appear.
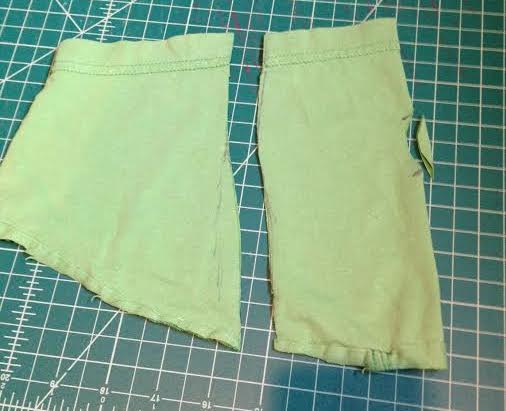
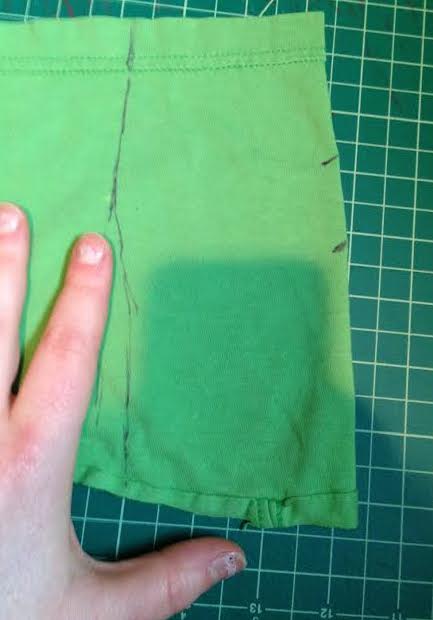
Cut out a thumb hole between your marks and cut down the length of the other mark you made.
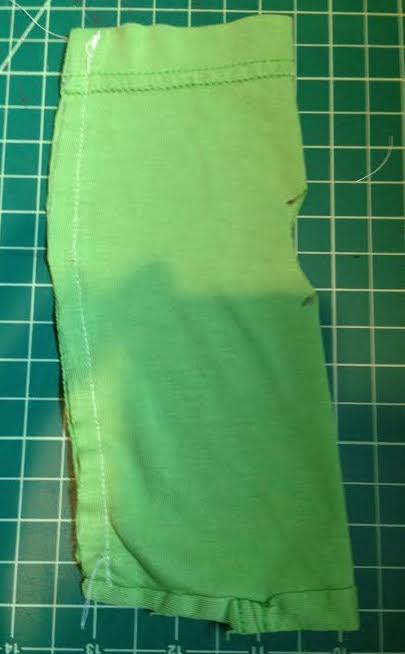
Secure the long side Using a 1/4″ Seam allowance (in other words, the two layers should attach together 1/4″ away from the raw edge) using a sewing machine (preferably) or a hot glue gun (this just may not have as long of a wearing life) so that it appears as the picture above. You do not need to do anything to the thumbhole as cotton knits do not fray. However, if you want a perfect little thumbhole you can fold in the edge and carefully sew around the hole for a finished hem. Â Go ahead and follow all the same steps for the other sleeve so that you end up with two wrist covers.
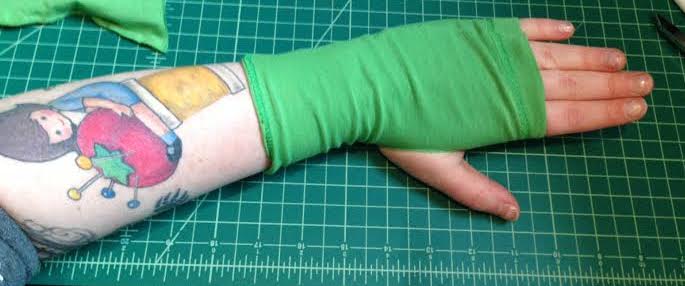
Turn them right side out and then put them on so you can take a look at how awesome your work is! Â Now, once again, your child can decorate the wrist covers as well. Â That’s it! Â It only took me about 20 minutes to make all four pieces (and that was with stopping to take pictures of each step for this tutorial) so this is a very quick, fun project that will spur a lot of dramatic play in your home. This is also a great idea for birthday party favors or if you put a bit more time and love into it, it would also make a lovely gift! So have at it and make one…or two….or perhaps one for every memeber of your family?!?!
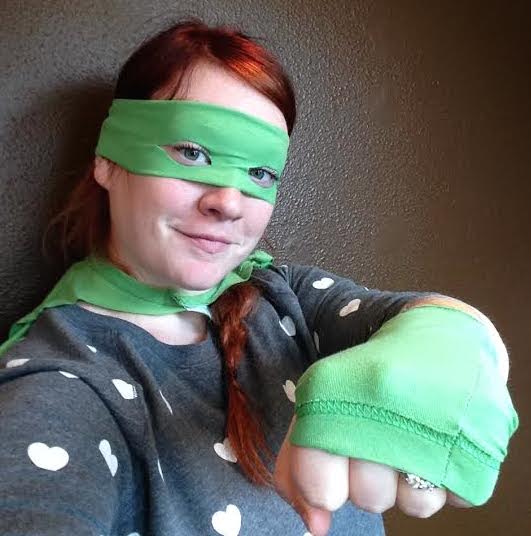
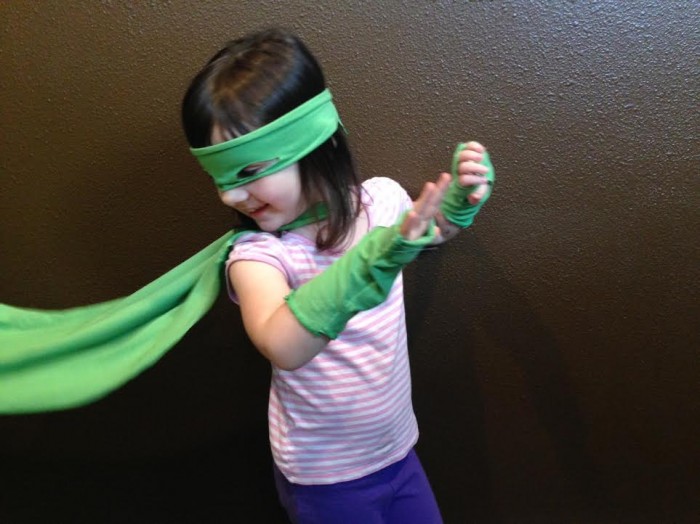
I couldn’t help myself…I made it to my size so I just had to go ahead and try it out…However, I think the next picture is much, much cuter ;)
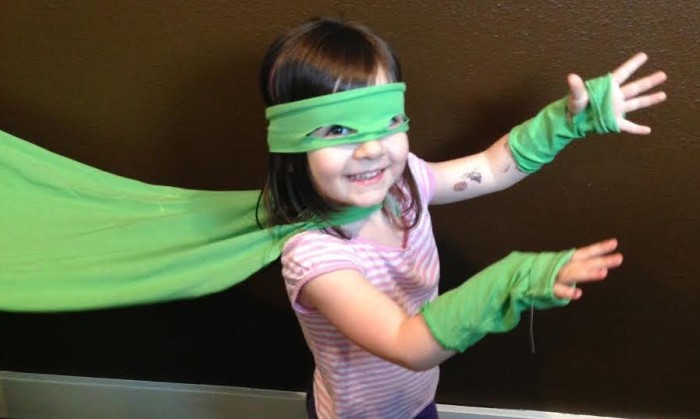
(See how her wrist covers are too big? This is a great example of why you should really use their bodies for your measurements if possible!) Happy Crafting!