…and Fall just happens to be my favorite time of year! Not only do I adore Halloween (costume making is one of my favorite crafts!) but I love the crisp weather, the wind, the beautiful leaves, boots, jeans, sweaters, scarfs…….you get the picture. This is why as soon as Fall hits I am driven to decorate my home in the moods of the season!  If you know me much at all then you may know that I am a huge fan of front door wreaths, and an even bigger fan of making my own! In the future I hope to have a collection so big that I have a new wreath to hang up for each month as well as each occassion. I only have about 4 now, but I’m still working on it!
The Perfect Project
I thought a Halloween wreath to hang up for the month of October would be the perfect project to kick off my Halloween decorating. I also decided to photograph every step of the way so that I could share with you lovely readers how to make your own! ( and the best part is, if you shop wisely and use those craft store coupons you can make this entire thing for under $10) So get your craft coupons ready and read below on how to make this adorable Halloween themed wreath:
Halloween Wreath Tutorial
You will need: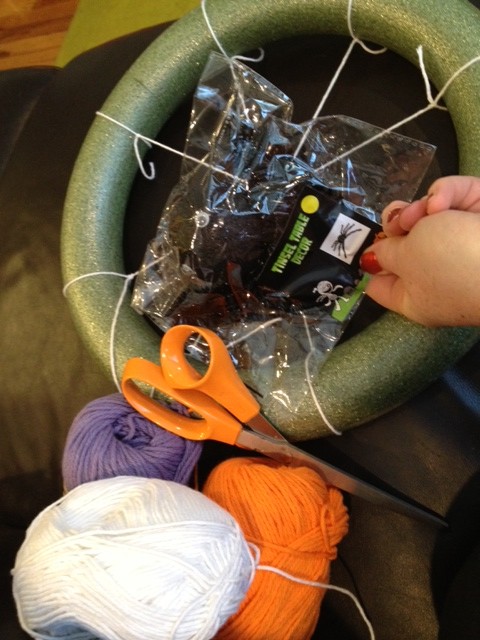
- yarn in the desired colors ( I used white for the web, purple, orange and lime for the wreath body
- scissors
- craft glue
- and/or hot glue gun/glue
- wreath base (you can use a traditional wreath form as I did (found at michaels or Joanns) or I’ve heard of people using pool noodles or plumbers foam pipes and just cutting and taping them into a circle.
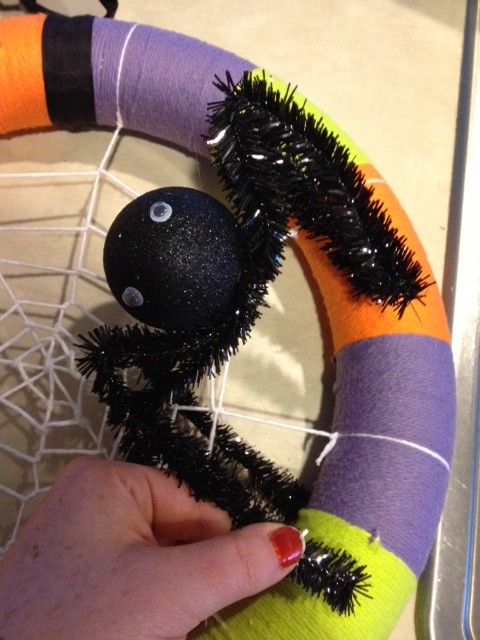
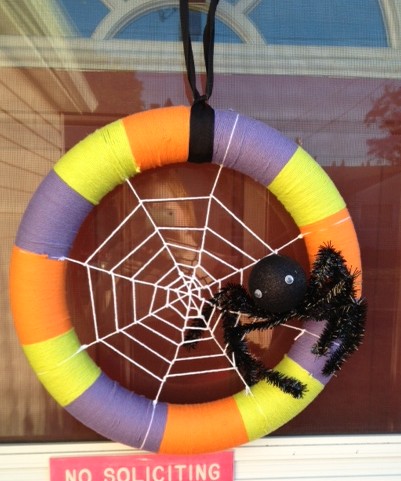
- spider or other decor. this is where you can get creative! You can use pumpkins, bats, spiders, witches…whatever your Halloween Heart desires! I found a cute googley-eyed spider for $1 in the bins at Target.
Directions:
- using your white yarn , tie a piece around one part of your wreath form, then pull it taught and tie the other end directly across from your first knot. Do this again, but the other direction (you should have created a plus sign in the middle of your wreath. then do this again two more times using the center of each of your already existing quadrants. You will end up with what looks like bicycle spokes on a bike tire.

- Next you will take the white yarn and tie it to the center, then making your way in a circular, outward spiral motion, you will wrap it around each “spoke” and pull it taught. Do this until you reach the outside and you see a nice web form in the center of your wreath. TIP: be sure to leave enough room around the edges of the web because you will need to be able to push a ball of yarn through in order to wrap the wreath form.


- Glue each joint of your spider web with craft glue or hot glue. This will keep your web from sliding out of shape. Only do this on one side (the back) so that glue will not show on your finished project.

- Now its time to start wrapping the wreath form. Pick your first color and let out about 24-36″ of yarn and cut it, then tie one end onto the wreath form tightly. Now bundle up your yarn and circle it around the wreath again and again, smoothing, tightening and adjusting it into a nice smooth covering as you go.


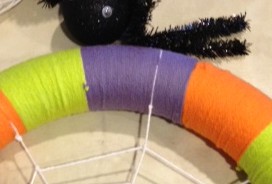
- When you get to the end of that color, pick another color and tie it onto the end. Let out about 24-36″ of your second color and cut it off the yarn ball. Wrap this around the same as your first color and keep repeating this until you have covered your entire wreath form. (use your creativity and make choices to change up the look of your wreath. you could do lots of orange and only a teeny stripe of another color, then back to orange or so on…I think a yellow/orange/white candy corn look would be cute!) When you get to the end where your wreath is entirely covered you will want to use hot glue or craft glue to glue down the loose end.

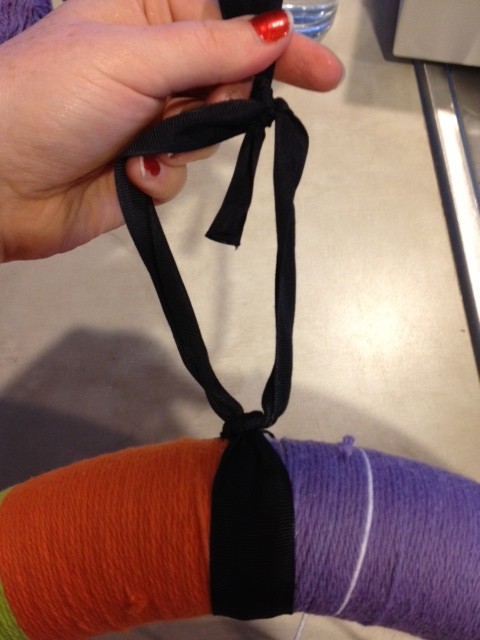
- Next pick out a cute ribbon ( I just used a plain black because It’s all I had on hand) and tie it around where you r first and your final color meet. Knot it around the wreath and then leave a loop and knot the top. Secure the top knot with glue and cut off the excess ribbon. This is how you will hang your wreath.
- lastly, glue on your little critter! I sort of weaved my spiders legs through the web and then glued some legs to the wreath using hot glue.
- that’s it! Hang up your wreath and be the envy of all your neighbors lol.
So grab your coupons, and head out to the craft store! Be sure to share your beautiful wreath pics with me!
